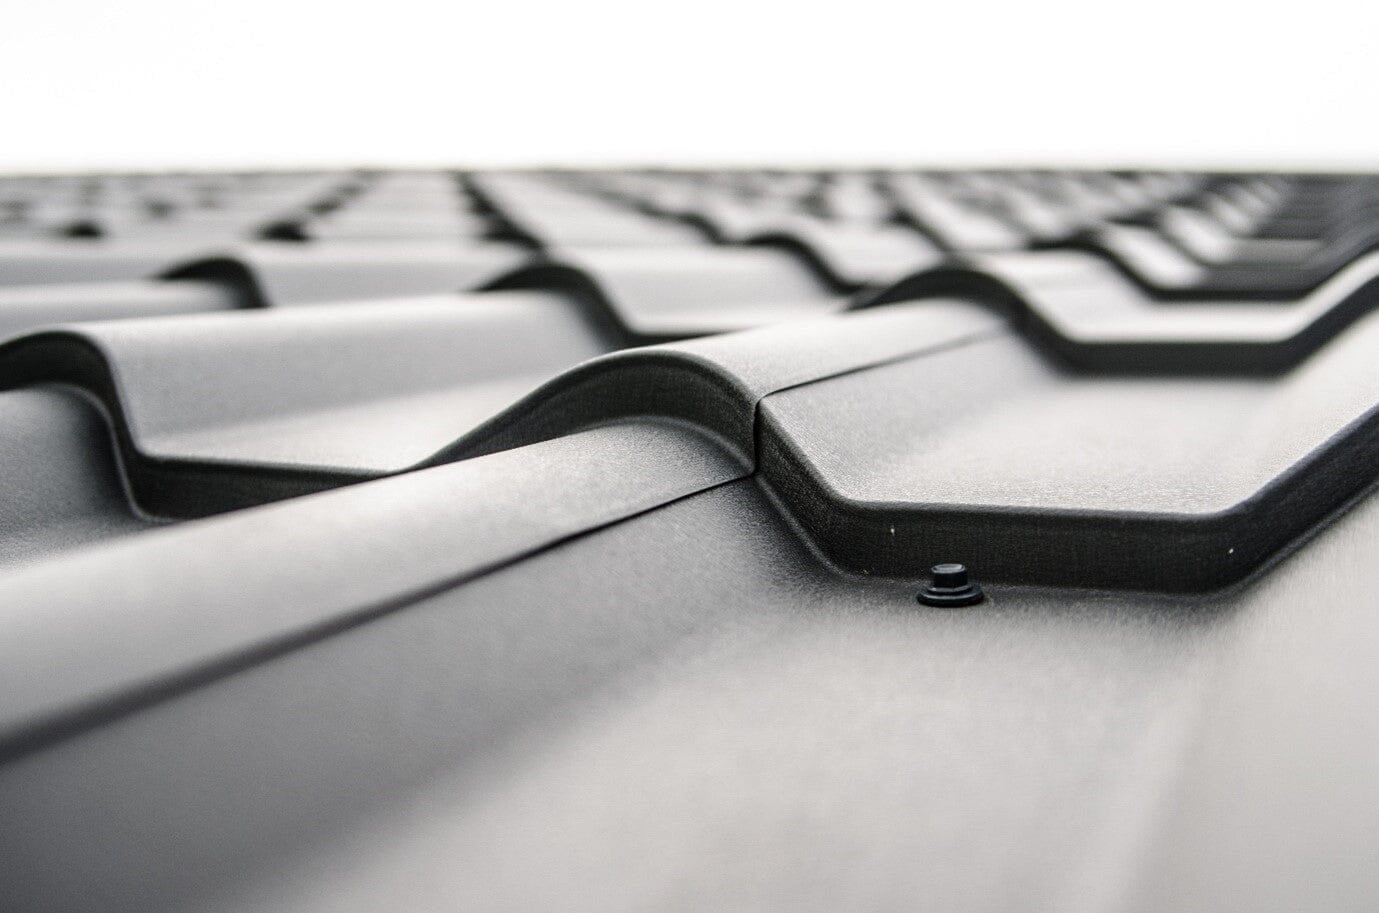
What is Lightweight Metal Roof Sheeting?
Lightweight metal roof sheets are roofing panels made from metal materials that are designed to be light in weight. They are typically made from materials like aluminium, steel, or copper, which offer durability, strength, and resistance to corrosion. Lightweight metal roof sheets are popular because of their excellent thermal performance, low maintenance requirements, and long-lasting durability.
Metal roofing sheets are a versatile roofing material that can be used for a variety of applications, mainly for residential, agricultural, and industrial roofing. They are energy efficient, visually appealing, created in a variety of different colour and designs making then extremely versatile and visually appealing. They are very weather resistant making them perfect foe the changeable UK weather, working for protection in high winds and rain and then extreme heat too.
What you Need:
- Lightweight metal roof sheets
- Roofing screws
- Rubber washers
- Drill with screwdriver bit
- Measuring tape
- Chalk line
- Tin snips
- Safety goggles
- Work gloves
- Ladder
It is essential to ensure you have gathered all your materials and the correct amount too before you begin. Safety is paramount! Work gloves and googles are a must! In addition to work gloves and safety goggles, it's important to wear appropriate clothing, including long sleeves and trousers to protect your skin from scratches and cuts. You may also want to use a safety harness or other fall protection equipment if you're working on a steeply pitched roof. Check the manufacturer's warranty and maintenance requirements for your roofing material. Some lightweight metal sheets may require periodic inspections or cleaning to maintain their durability and performance.

Follow These Steps for Stress Free Installation:
Step 1: Measure the Roof
Before you begin the installation process, ensure that the roof structure is strong enough to support the weight of the metal sheets and then measure the length and width of the roof to determine how many sheets you will need to cover it. Measure the length of the roof from the eave to the ridge and the width of the roof from one end to the other.
Step 2: Calculate the Number of Sheets Needed
Divide the length of the roof by the length of the metal sheets to calculate the number of sheets needed. Then, divide the width of the roof by the width of the metal sheets to determine how many rows of sheets you will need.
Step 3: Install the Underlayment
Install an underlayment over the roof sheathing to protect the interior of your home from moisture. You can use a synthetic underlayment, felt paper, or another approved material for your roofing system. Ensuring proper ventilation is essential to prevent moisture build-up in the attic beneath the roof. Make sure to install vents or other ventilation systems according to local building regulations and manufacturer recommendations.
Step 4: Mark the Roof
Use a chalk line to mark the position of the first row of metal sheets along the eave of the roof. Make sure the chalk line is straight and parallel to the eave.
Step 5: Install the First Sheet
Starting at one end of the roof, align the first sheet with the chalk line and secure it in place with roofing screws. Use rubber washers to prevent leaks around the screws. Place the screws at the highest point of the ridges or at the crest of the waves. The spacing between roofing screws or nails is important to ensure that the roof remains secure in high winds or other weather conditions. Check the manufacturer's instructions for recommended spacing and use a chalk line or other guide to ensure that the screws are evenly spaced.
Step 6: Install the Remaining Sheets
After installing the first sheet, overlap the second sheet with the first sheet by at least one ridge or wave. Continue installing the sheets in this manner until you reach the other end of the roof.
Step 7: Cut the Sheets to Fit
If necessary, use tin snips to cut the metal sheets to fit around any obstructions or edges of the roof.
Step 8: Finish the Edges
Install metal flashing along the edges of the roof to protect against water infiltration. Use roofing screws and rubber washers to attach the flashing to the roof.
Step 9: Inspect the Installation
Once you have completed the installation, inspect the roof to ensure that all the metal sheets are securely fastened and there are no gaps or exposed areas that could allow water to enter.
That's it! By following these steps, you can successfully install lightweight metal roof sheets on your home.
Choose your Lightweight Metal Roof Sheets with Roofing Supplies UK
Roofing Supplies UK is an expert retailer of Metal Roofing Sheets. We can advise on the right option for your needs, to ensure your roofing project is a success. We have a range of Lightweight Metal Roof Sheets available to suit a huge variety of roofing needs.
Are you interested in choosing your Lightweight Roof Sheets today? Email us at sales@roofingsuppliesuk.co.uk, call us at 01752 466151, or order online 24 hours a day, seven days a week. We’ll be able to help you purchase your Lightweight Metal Roof Sheets now.

