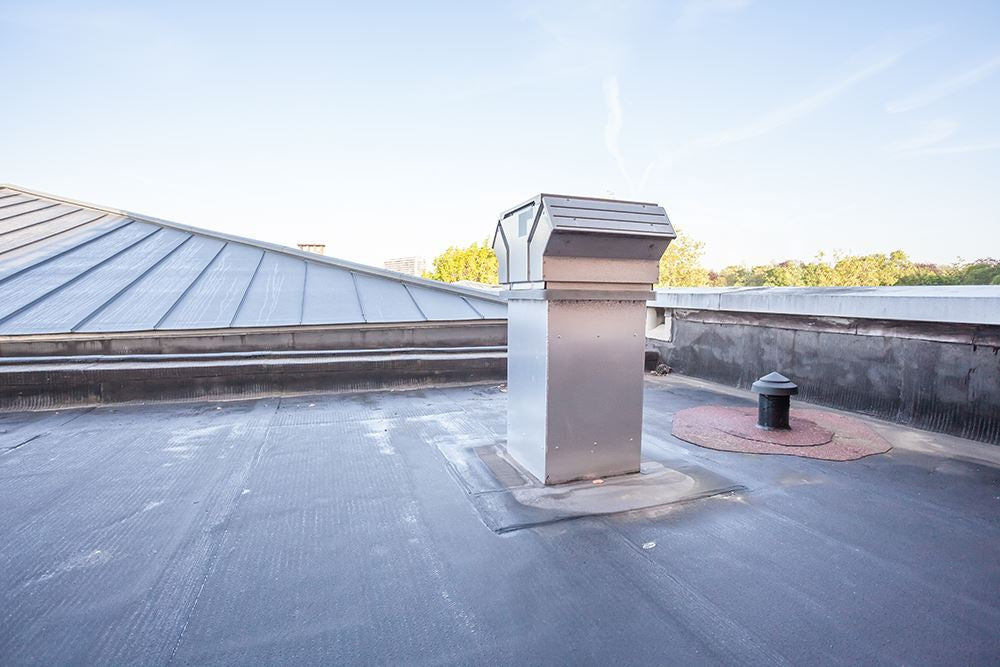
Rooftec Poly-Guard Liquid Roofing System offers a convenient, fast and straightforward method of waterproofing flat (low-pitched) roofs. Suitable for DIY roofers as well as trade professionals, liquid membrane roofing systems can be used to provide complete roof coverage or for smaller waterproofing jobs.

Use our handy four-step guide to get best results from you Rooftec liquid roofing.
1. Inspect the roof and identify areas of weakness
Typically, homeowners become aware of roofing problems when a leak develops during wet weather. The exterior site of an interior leak will obviously need repair. In addition, it’s worth inspecting the rest of the roof, as one leak may indicate that other parts of the roof may be deteriorating.
Look for ridges, holes, wrinkles and uneven patches.
2. Prepare the area to be repaired
Even the best liquid roof coating isn’t going to provide lasting coverage unless the preparatory work is completed correctly. When preparing the repair site, it’s best to pick dry weather conditions and avoid temperature extremes.
Start by cleaning away any debris, dirt, bacteria and grime. Liquid roofing products won’t adhere well to a substrate that’s covered in dirt. Make sure the area is completely dry before moving on to the next stage.
If necessary, fill any holes, joints or cracks with Rooftec joint sealant. The aim here is to provide a smooth, watertight surface on which to apply the membrane. Leave the sealant to dry.
Although not absolutely essential, once the sealant has cured we do recommend applying a primer – the Rooftec Poly-guard Same Day Primer, for example, will provide the surface needed for the liquid roofing to adhere firmly.
Primers can be painted onto clean, dry surfaces – the Rooftec option is suitable for all common roofing surfaces. Allow the primer to dry before applying the liquid membrane.
3. Apply reinforcement materials
Yes, it’s a belt and braces approach, but taking the time to apply reinforcing tape over joints provides added protection over a potentially vulnerable section of the roof. Just wait until the primer has dried, then stick some self-adhesive butyl tape or a similar product over any joins.
4. Apply the liquid membrane
Make sure the substrate is dry and clean before applying the membrane. Try to avoid applying the membrane during adverse weather, or when adverse weather is forecast – if the membrane is rained on during application, this may interfere with the curing process. The membrane will not adhere properly to a damp substrate.
The membrane can simply be brushed on, or applied with a roller. Make sure that the membrane is applied evenly and not left to pool – if the membrane is pooling, it won’t dry correctly and its efficacy will be compromised.
The Rooftec Poly-Guard Liquid Roofing will be touch-dry within 2-3 hours. Complete curing takes a couple of days, so avoid treading on the roof until the product has had the chance to dry.
And that’s it!
Correctly applied on substrates that have been prepared appropriately, Rooftec Poly-Guard Liquid Roofing System provides around twenty-five years of protection from the elements. Buy Rooftec Poly-Guard today from Roofing Supplies UK

